With cold winter days approaching, I was inspired to create an American Girl Doll sized fireplace! I had been thinking about doing it for some time, and am super happy I finally got around to it.
I took progress pictures of how I constructed that may help you if you decide to make a fireplace for your dolls. I apologize for any poor quality photos, I usually do crafts at night time :)
For the basic structure of the fireplace, I used a Christmas lights box that measures 8 1/2" by almost 9 1/2". I turned it sideways, so the longer side of the box would be the bottom of the fireplace.
I then cut out a section of the front for the opening where the "fire" would be. The completed opening measured about 5" by 6 1/2".
For the inside of the fireplace, I printed out a brick pattern on some paper. The brick is a little small for American Girl Doll scale, but that's okay to me. A link to the brick template can be found in the description box of the video by Deena and Beena
here. I printed four of these sheets, but only needed to use three.
I used scissors to cut the paper so that it would fit on the inside of the box, then used a glue stick to attach the paper to the cardboard of the box. Here it is so far!
The black part is craft foam cut to the right size. I attached it with a glue stick. One could also use black construction paper, but I didn't have any on hand.
I used my X-acto knife to cut pieces of craft foam board to cover the design of the Christmas lights box. I covered the front and both sides.
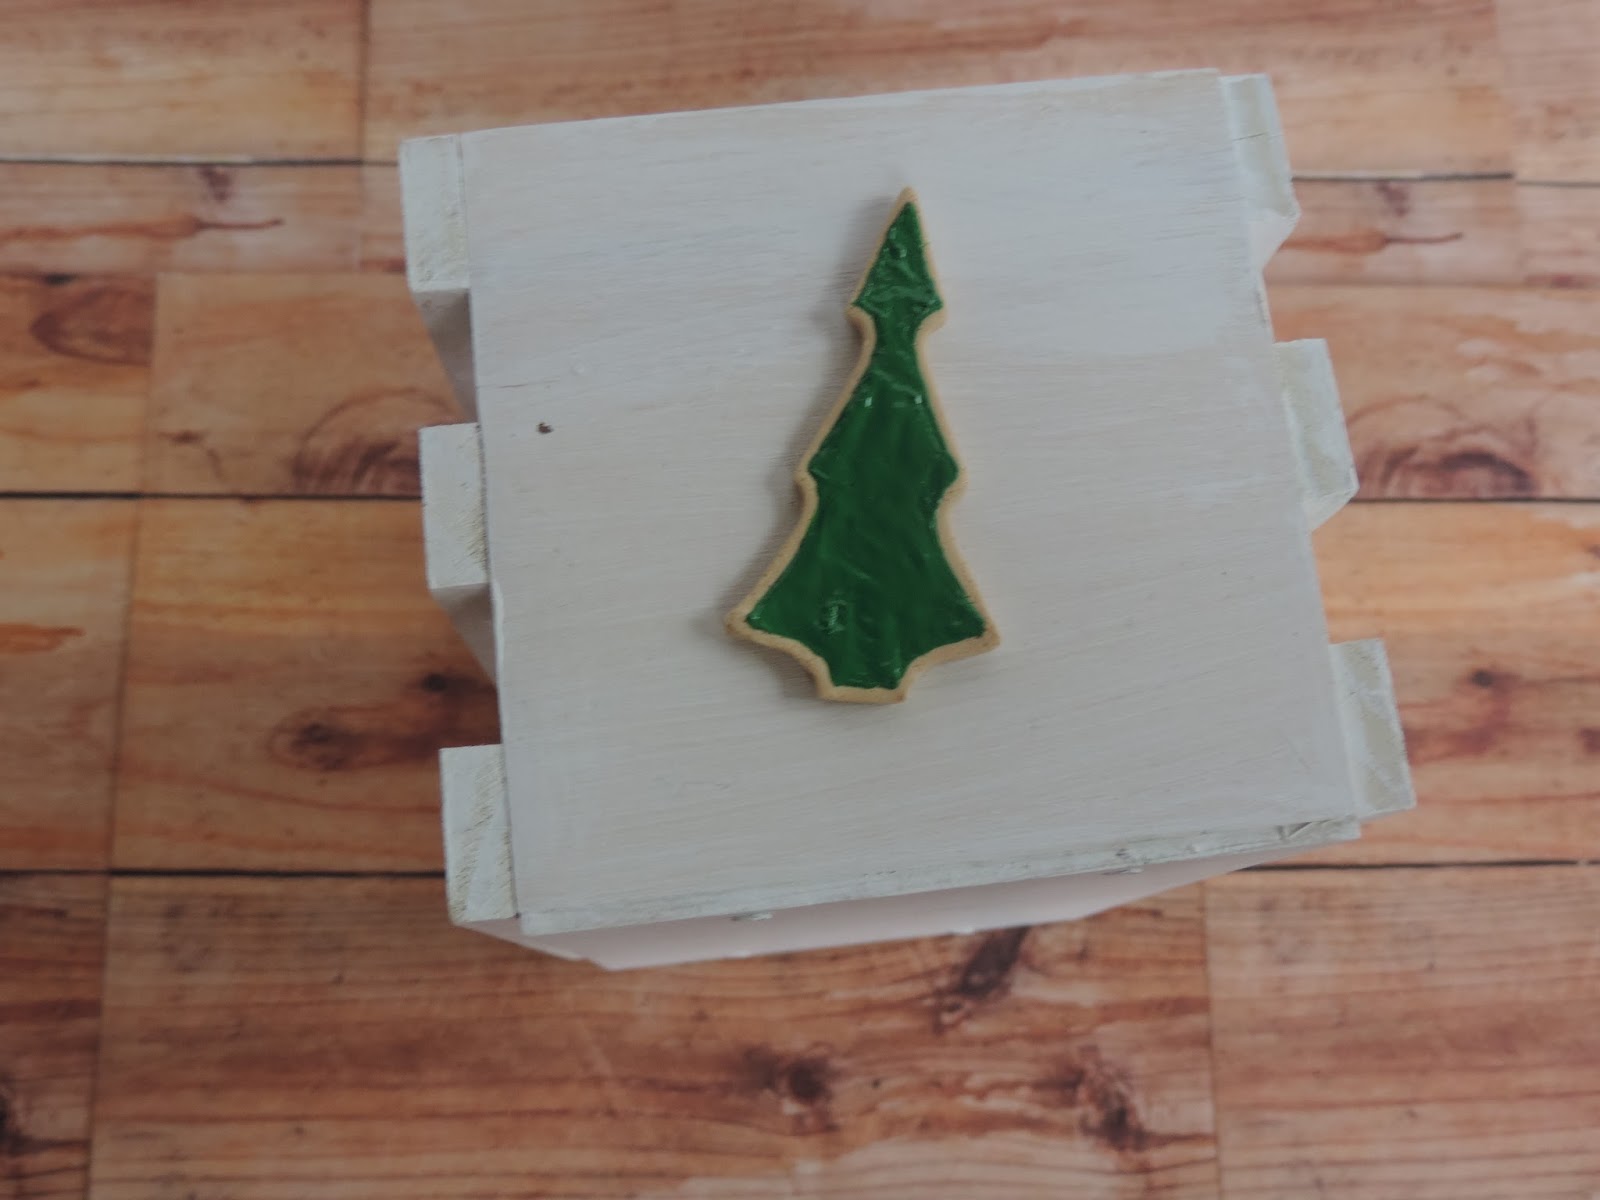
I wanted to add a little decoration to the front of the fireplace, but I didn't want it to be overwhelming. I took some white Sculpey and rolled it out so it was flat and even. I have a small box made of stone with horses and interesting designs carved into it (picture above). I took this box and decided to use the triangle design. I impressed the box into the clay. When I removed the box, the clay showed the same triangle design indented into it. The first couple times I attempted this, the clay stuck to the box, making a rough looking design. I fixed this by putting a small piece of plastic wrap over the clay. After that, I was able to remove the box, peel away the plastic wrap, and I had a nice design.
I cut the clay designs to the shape I needed before baking for fifteen minutes.
For the wood of the fire, I found some small branches of a lilac tree. I cut them to smaller pieces, in order to fit into the fireplace. To make them look burnt, I used soft charcoal and hard charcoal, which is typically used for drawings, to color the sticks darker. I smoothed it out with my fingers and a tortillion. If you would like to read more about charcoal drawing/tortillions/charcoal, see my previous post
here.
I cut the foam board for the mantelpiece a slight bit larger than the actual size, so it would over hang a bit.
Final pictures!!
It's got a basic look and design, but I plan on decorating it with stockings and Christmas trinkets.
I glued the clay design to the foam board with some Tacky Glue. I had never used Tacky Glue before. The clay seems to be held quite well into place.
For size comparison I have Maggie in her winter pajamas!
I think Maggie is wondering if Santa will be able to get through it :)
Hope you enjoyed!